I've been dyeing for almost 40 years, mainly with natural dyes and almost always on wool or silk fibres. Those are the fibres I love to spin and knit, so I have rather neglected the cellulose fibres - linen, cotton etc.
But when the chance came to spend a week at Big Cat Studio in Newburgh, learning about Ecological Methods of Dyeing Cellulose Fibres with Michel Garcia, I jumped at it.
Fifteen eager students gathered on the Monday morning, and we worked together, learned and thoroughly enjoyed ourselves for five very full days. Each day we were fed a delicious and nutritious lunch by Alison and the Big Cat team. Some people stayed overnight in Newburgh but our days were so busy that I was glad to be at home at night.
On day 1 we learned about plants which accumulate aluminium in their leaves and can be used as mordants. We also learned how to properly scour and prepare cellulose fibres to get the v=best results in our dyeing. We used Symplocos, Camellia and Lycopodium as mordants, and tried them out with Weld, Madder, Cochineal, Cosmos and Logwood dyes.
 |
| Samples dyed using Symplocos leaves as mordant. Clockwise from top left: cochineal, Logwood 5%, Logwood 20%, madder, cosmos, weld+logwood, logwood 100%, weld |
On Tuesday we learned ecological methods of using mineral mordants - Aluminium, Iron and Titanium - in ways that create no waste or pollution.
We prepared samples of fabric in nine different mordant concentrations and mixes, before dyeing one of each in the same five dyes we had used previously.
 |
| Nine mordants painted in stripes, dyed with weld |
Already our sample collections were starting to grow, as we worked together to create small samples of each combination to mount on the pages Michel had prepared for us.
 |
Samples dyed with fresh weld
|
That evening we went out foraging for additional dyestuffs to use the next day.
 |
| Front: white clover. Eucalyptus. Silver Birch. back: Sweet Cicely |
Our third day expanded the range of dyes we tested with the nine mordants - Sweet Cicely, Silver Birch bark, Eucalyptus bark, white clover
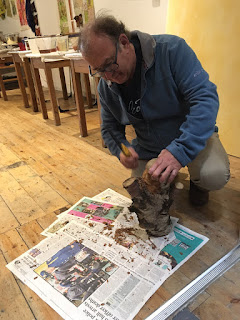 |
| Silver birch bark straight from the log |
 |
| Extracting dye from eucalyptus bark |
 |
| The white clover dyebath |
and cherry tree leaves found their ways into our dyepots. All the time we were learning the chemistry that explains the magic. Michel also showed us ways to create patterns by painting or screen printing different mordants on to the fabric before dyeing, discharge printing
 |
| Discharge prints - logwood and cochineal on ferrous mordant discharged with a cut lemon |
and how to create a colour series using different proportions of different mordants and one dyebath.
In the evening Michel gave us a very informative slide presentation covering history, chemistry, botany and showing some of the fascinating projects he has undertaken.
Thursday and Friday were given over to Indigo. More chemistry!
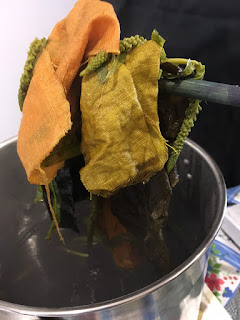
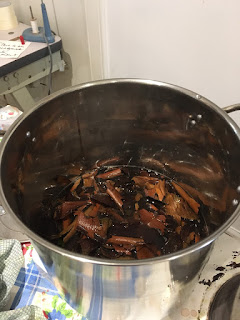
We extracted indigo as a paste from dried indogifera leaves,
made fructose solution by boiling dried orange peels, and each of us set up our own organic indigo vat.
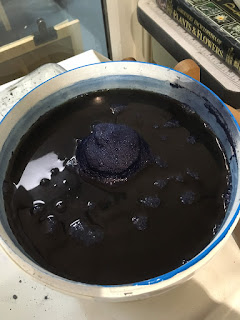 |
| Beautiful bubbles are dark blue! |
Michel demonstrated the dyeing process and we got the first blue samples to add to our pages.
On Friday we were let loose to dye our own samples - everyone had brought something special to dye: handspun (and I think homegrown) linen yarn from Norway, silk fabric from Australia, bamboo cloth and other fine fabrics. I had prepared skeins of cotton yarn, which I dyed in my vat. One skein was already dyed with madder, and I dipped one end of it in the indigo to create a self-striping yarn.
To create a gradient I had knitted some wool yarn into a sock blank, which I dipped at one end only making a gradient from natural through light blue to dark.
I will dye the natural end and the light blue area with another colour and then unravel it to knit socks or maybe a shawl.
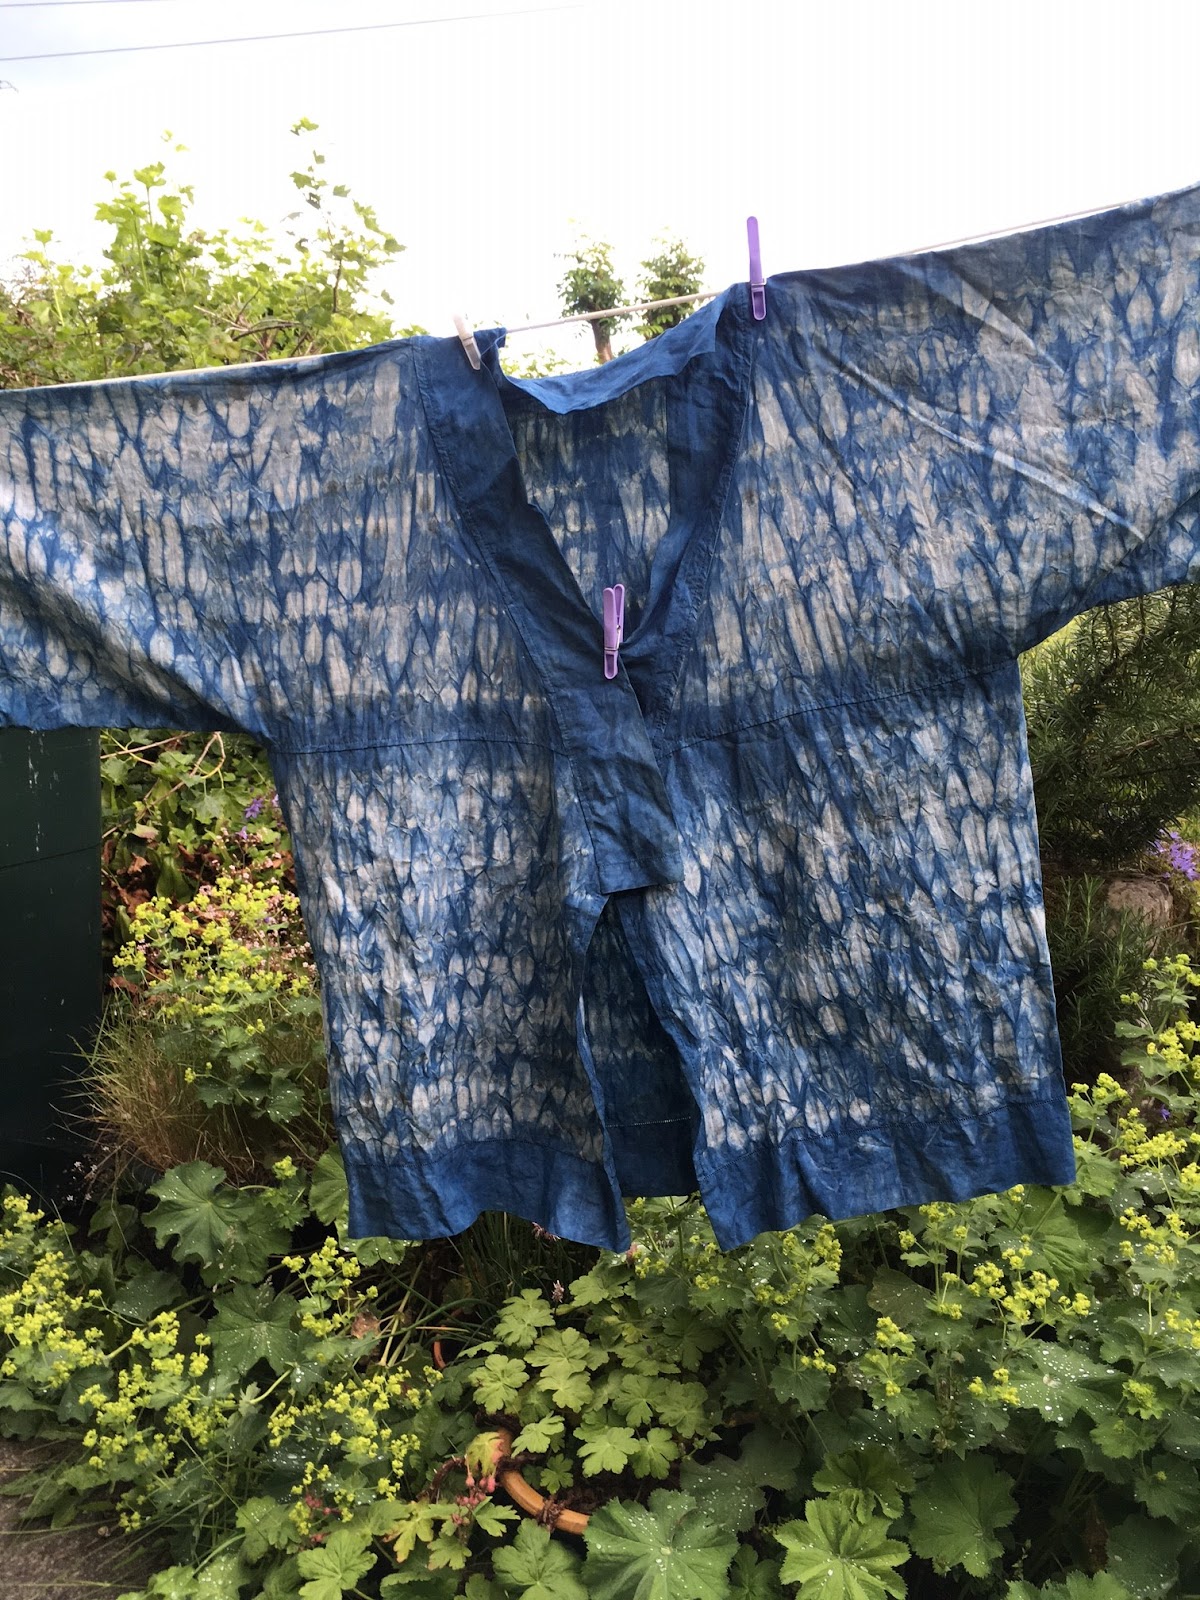
I also made and shibori-stitched two kimono-style jackets from vintage linen, which were too big for our individual vats so they were dipped in the large class vat.
One was previously dyed with madder
In the final afternoon we explored overdyeing - cloth or yarn that was first dyed with indigo, then mordanted and dyed with other natural dyes. This added even more colour variety to our bulging sample books.
 |
| Cotton yarn. From bottom: indigo, overdyed with weld+cochineal, overdyed with weld, overdyed with cochineal, overdyed with cosmos |
At the end of the workshop I had learned much more than I expected, and now understand why some of my earlier efforts dyeing cellulose fibres were less successful. My pages of notes and samples will be a valuable resource and reminder, as my world becomes an even more colourful place!